Family Photo Restoration
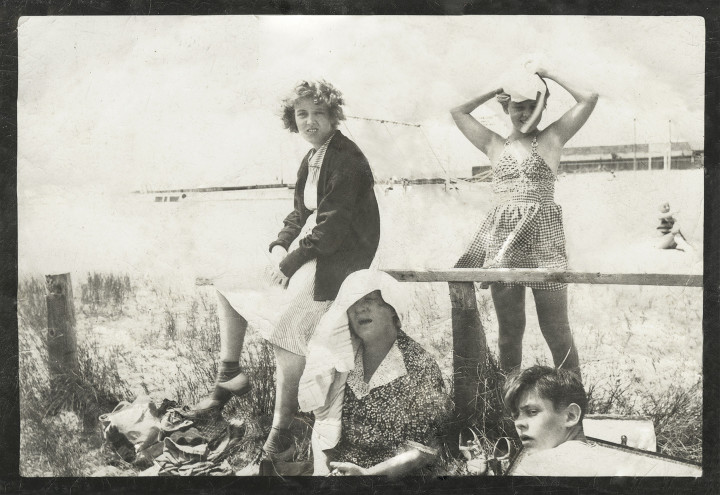
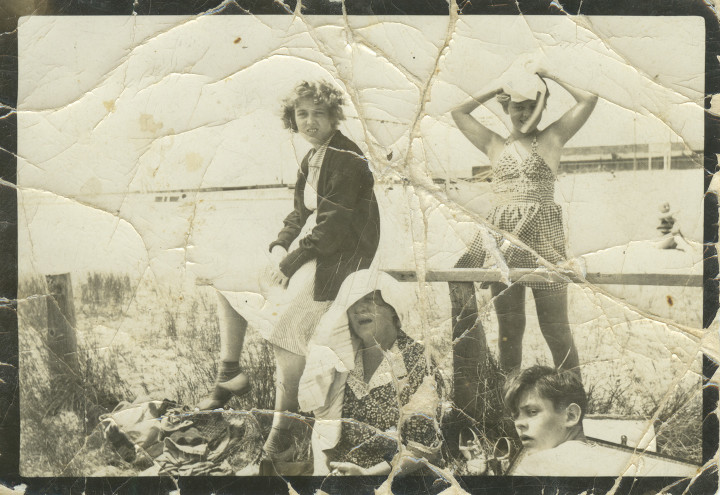
My partner brought a little present home for me from her mother’s house. Less a present really, more of an assignment. Her mother had found this picture of HER mother and sister and grandmother in some drawer or other. It had been battered and beaten and probably put through the wash a few times, but they wanted to see what I could do with it.
Step one was to scan it in order to get as much information as possible out of the original. Pulled my old Epson flatbed out of the closet and plugged it in, fired right up. Scanned it to a TIFF file at 1200dpi. Not that there was anything near that much information in the print, but I find that when doing restorations like this, the higher resolution let’s you more easily discern between the image and any physical flaws that have befallen the print. If you don’t have a scanner, you can also take a well exposed picture with your camera and start with that. Just make sure you light it from the side so you don’t get reflections in the image.
Most of this kind of work can be done in Photoshop using things like the spot-healing brush and stamp tools. Certainly when it comes to creases across a largely white sky those techniques work pretty flawlessly. The problems come when you need to invent information. The places on the print where the image has been torn away for example, that’s information I have no way of getting back. For things like the pattern in their dresses, you can use the healing tools to mimic or clone in the pattern from elsewhere to good effect. Other areas like the swing set to the right of the central girl, I can’t accurately recreate that. Best I can do, within reason, is to use the surrounding image to guess, and that’s just what I did.
Overall not bad considering I only spent an hour or so on it. Is there room for more work? Sure, but you’re quickly approaching the limits of your return on time invested. We want to save and perhaps restore the memory a bit, no need to go all Ken Burns.
I also could have increased the contrast even more and desaturated the whole thing entirely. That would probably deliver an image that was much closer to how the print looked in the 1930’s, but also kind of loses some of the Age that the print has imbued on the memory. So in the end I pulled back the contrast and desaturation layers to let it feel a bit more like the original.
Either way it’s a good ‘waiting for the snowstorm’ project, and a great way to get your feet wet in PhotoShop. You’ll learn how to use layers and healing/clone tools, as well as adjustment layers and color. I highly recommend you get a tablet to do work like this. Trying to do this with just a mouse would be like doing a fine pencil drawing while wearing ski gloves. The less expensive Wacom tablets are a great deal, and a good place to dip your toe in the water.
So go rummage through some drawers and give it a shot. Your children and your children’s children will thank you some day.
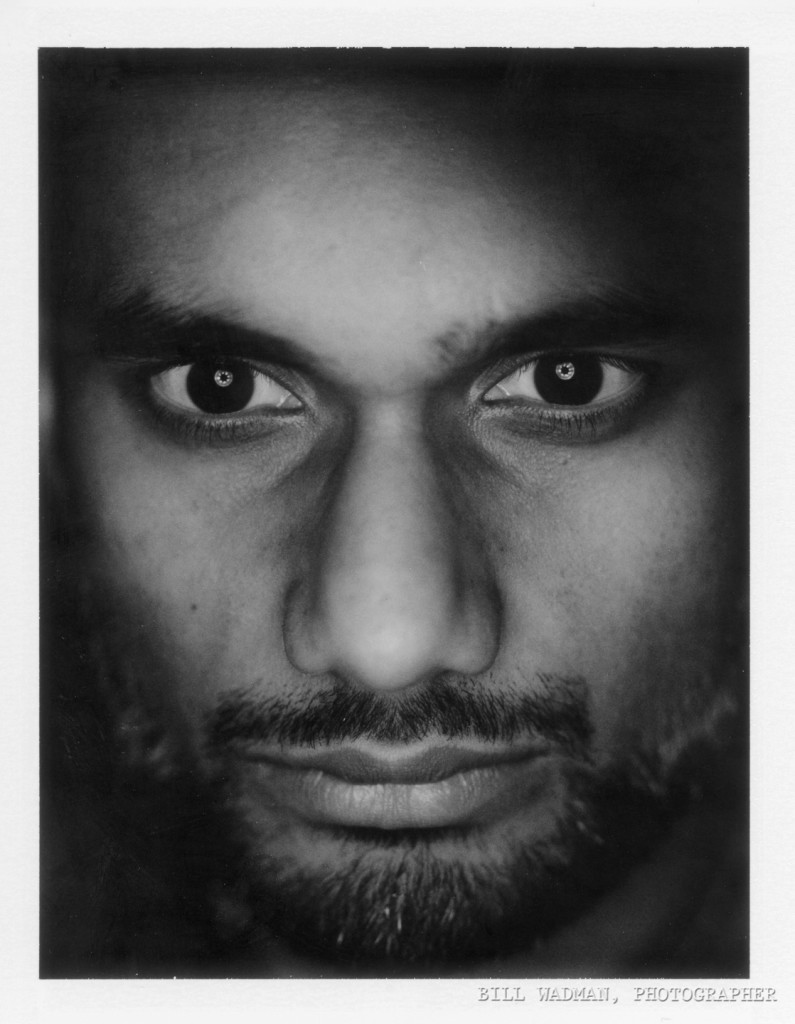
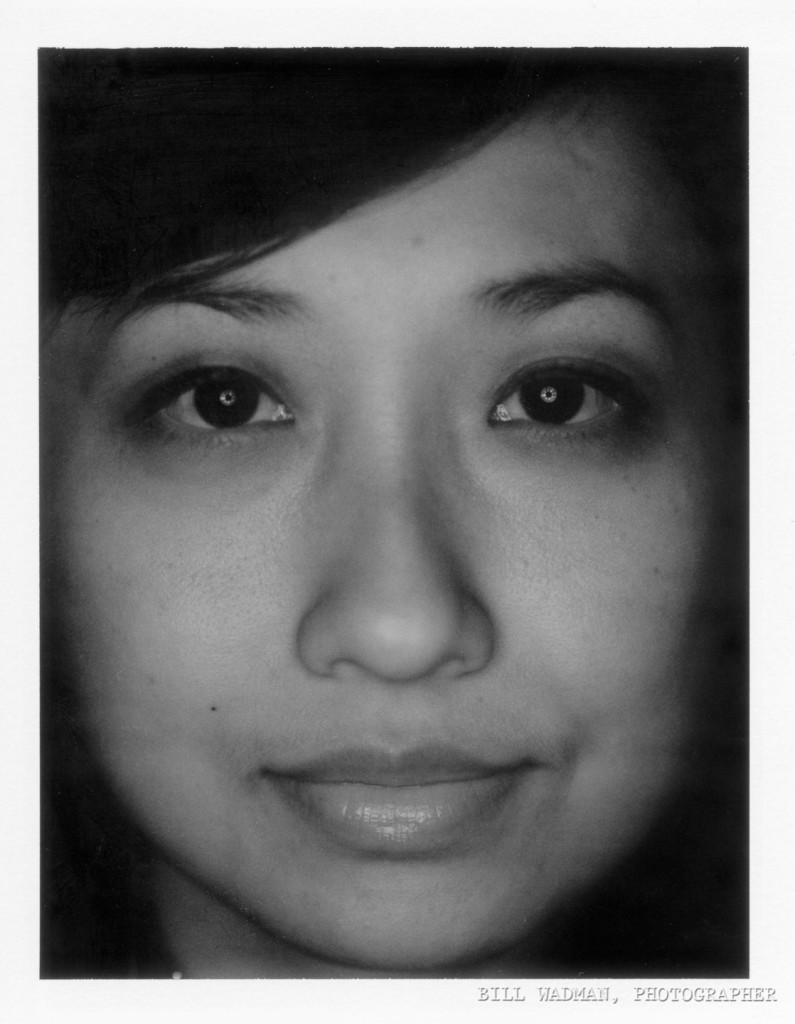
Christmas Fuji 4×5 Instant – Ali, Nhu-an, and Lilly
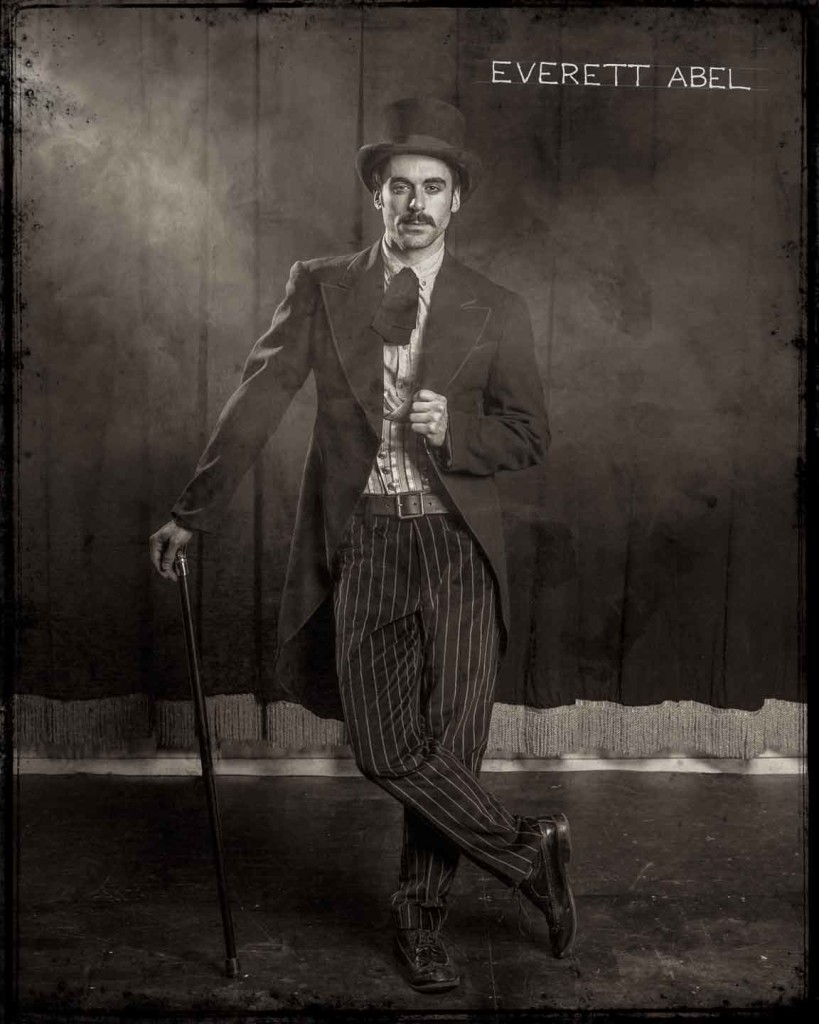
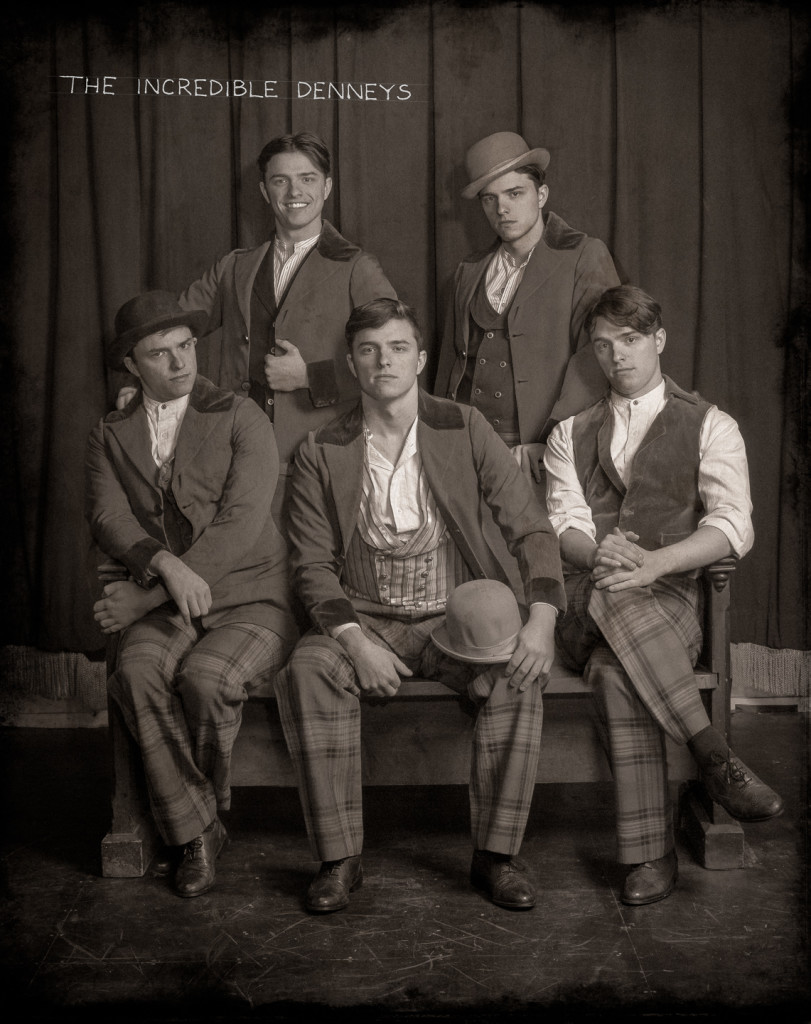
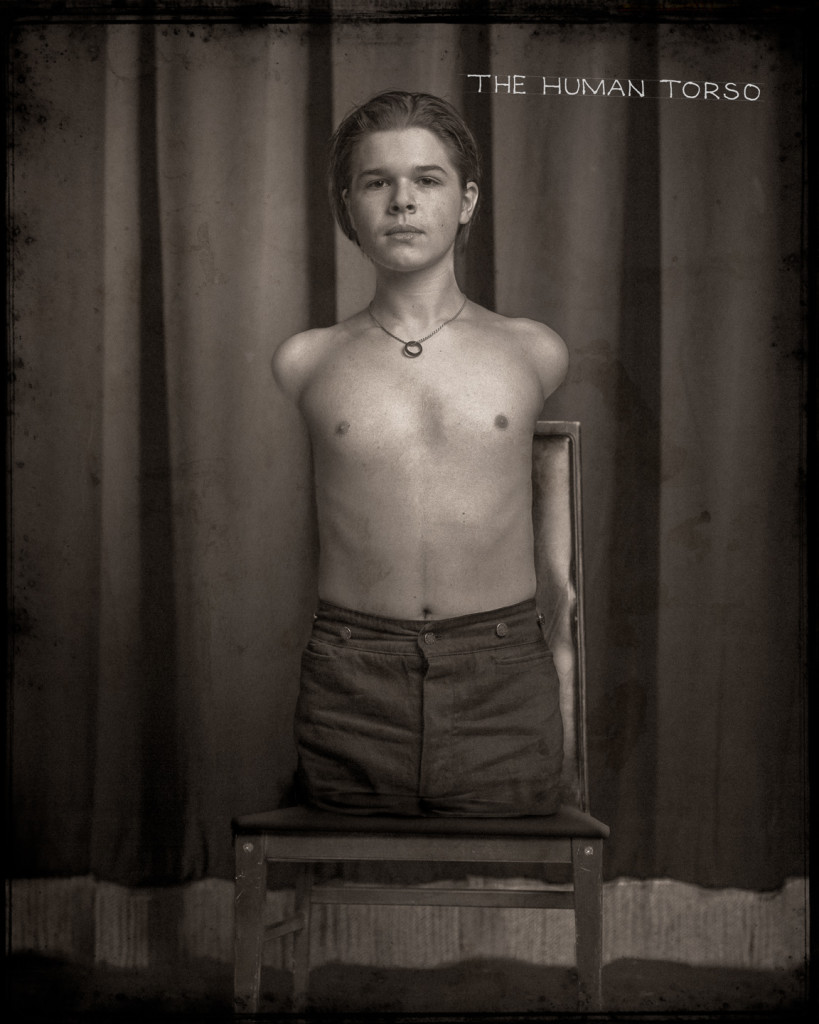
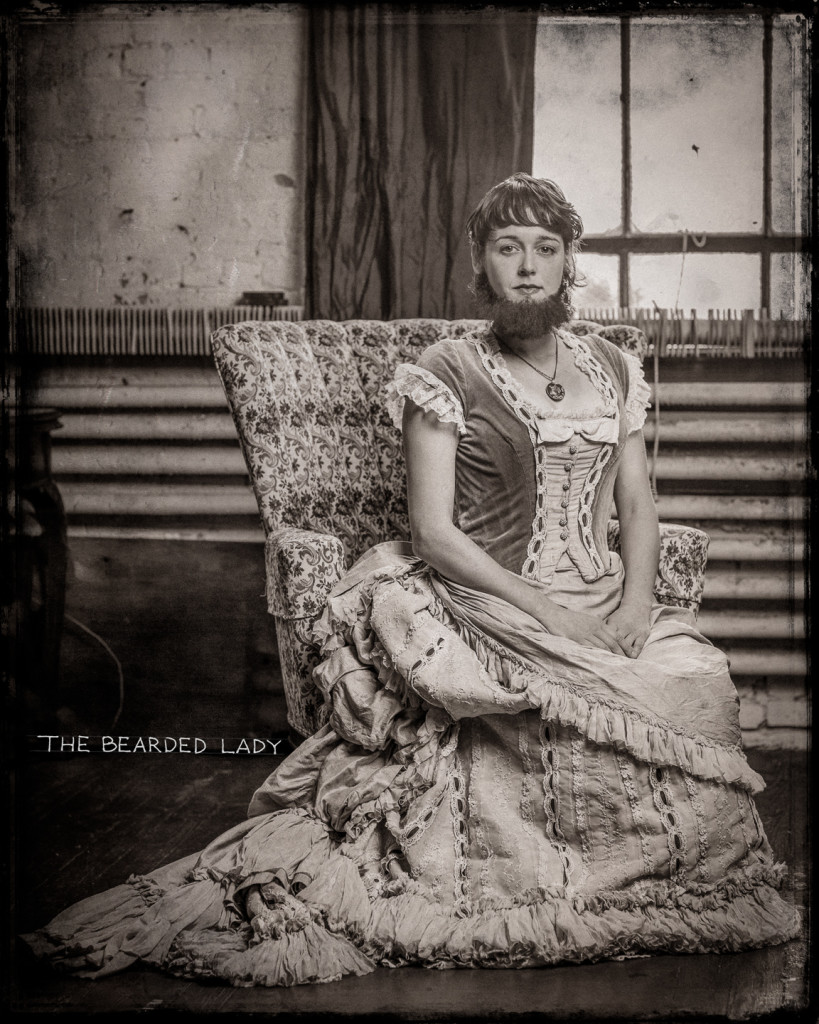
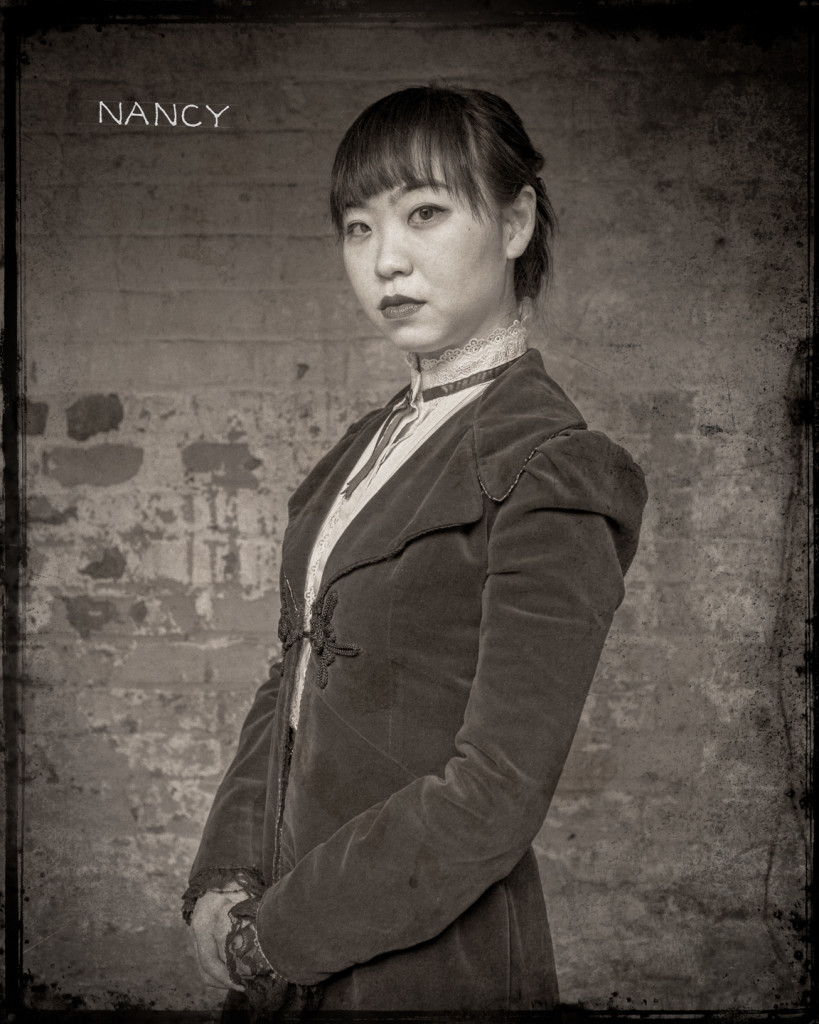
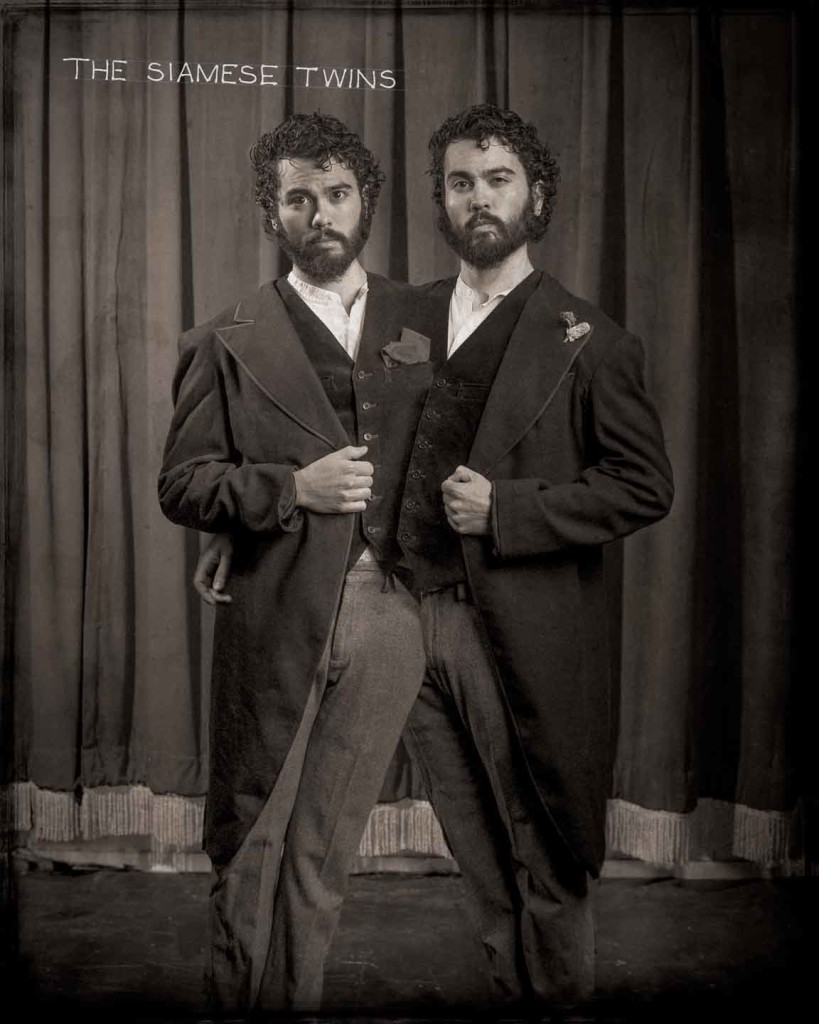
1890’s Sideshow Pitch
I was asked by my friend Liz to help develop some visuals for a television pilot pitch she was working on set in a 1890’s era sideshow. So this last weekend we put together a shoot at a local theater. Here are the results.
Click to enlarge.
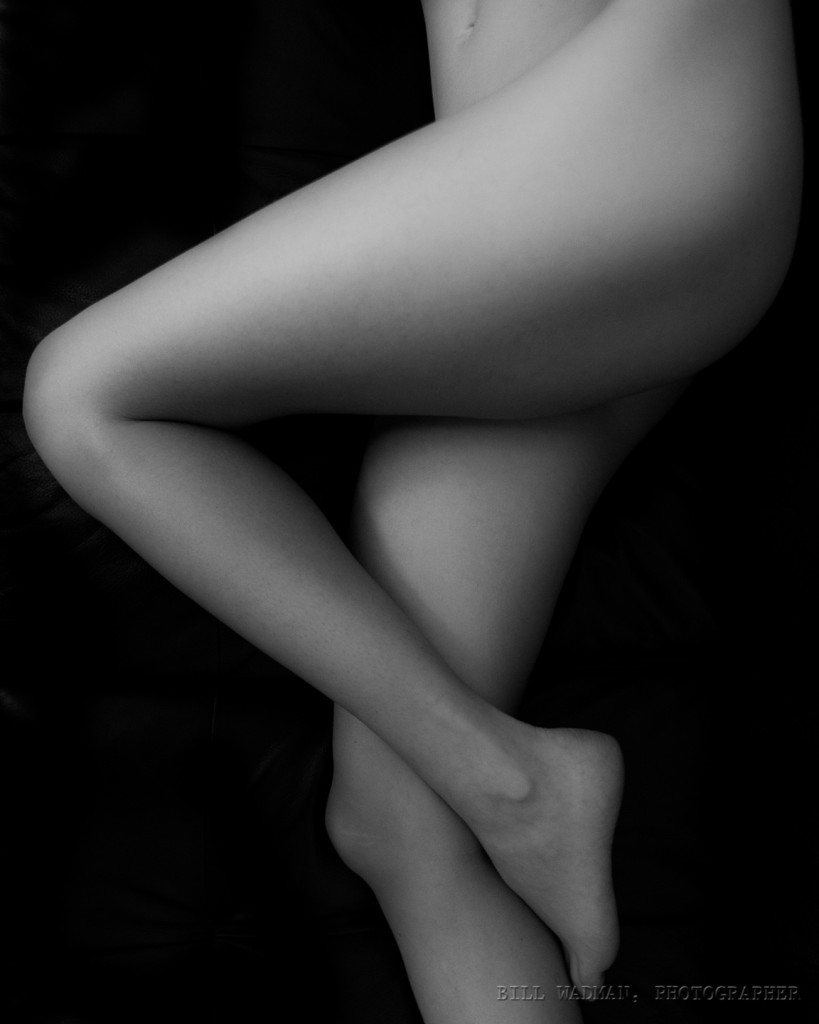
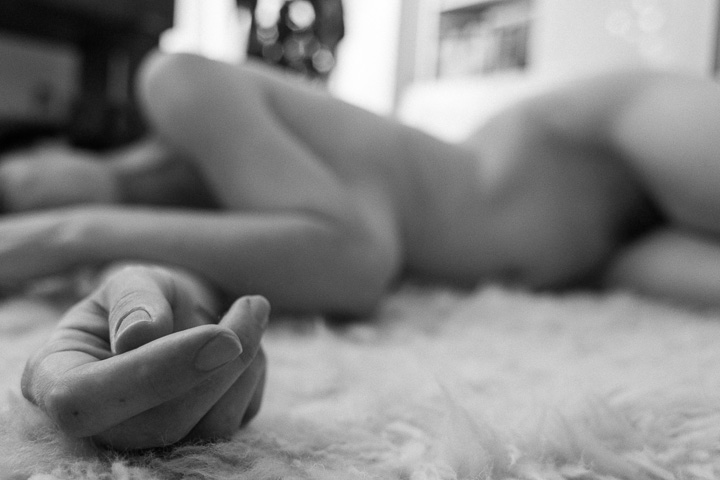
Nude Experiment 11/16/13
Couple Street Shots from the Fuji x100s
Click to enlarge.
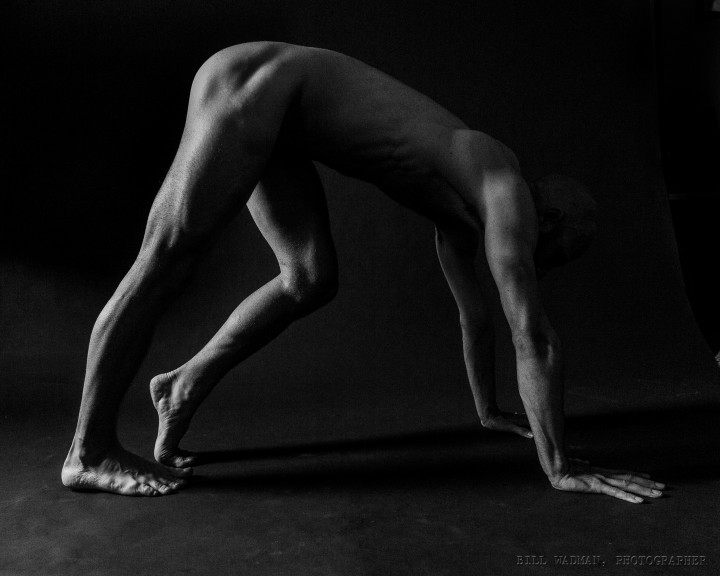
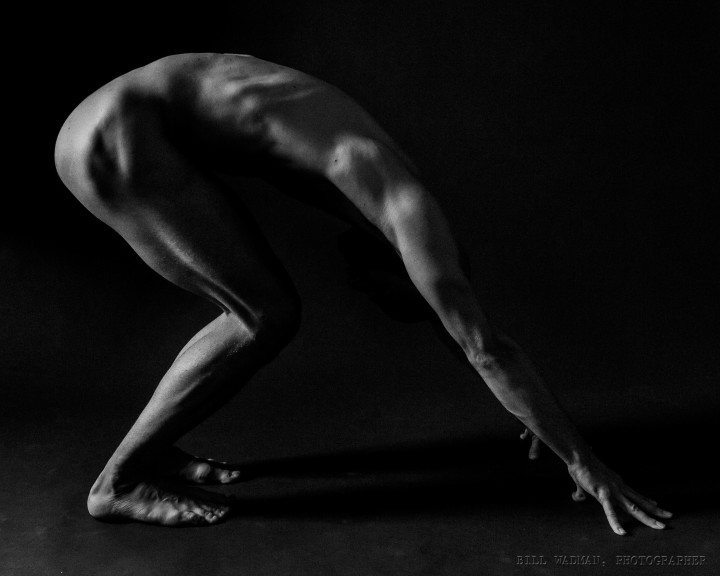
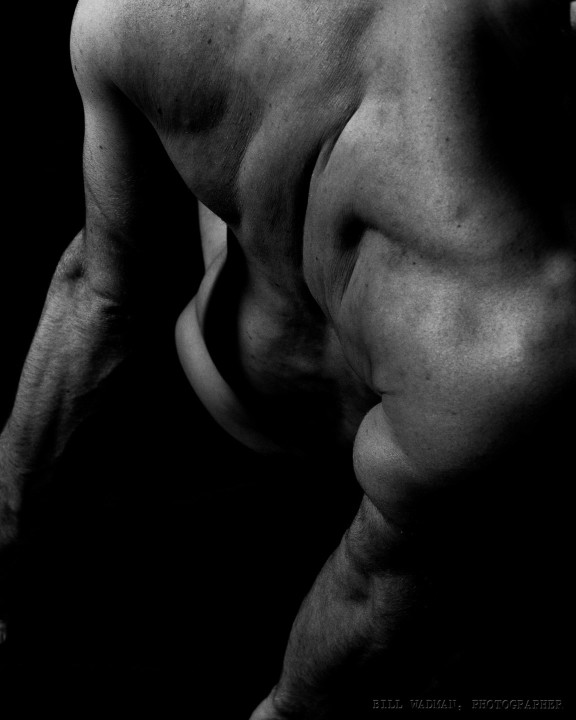
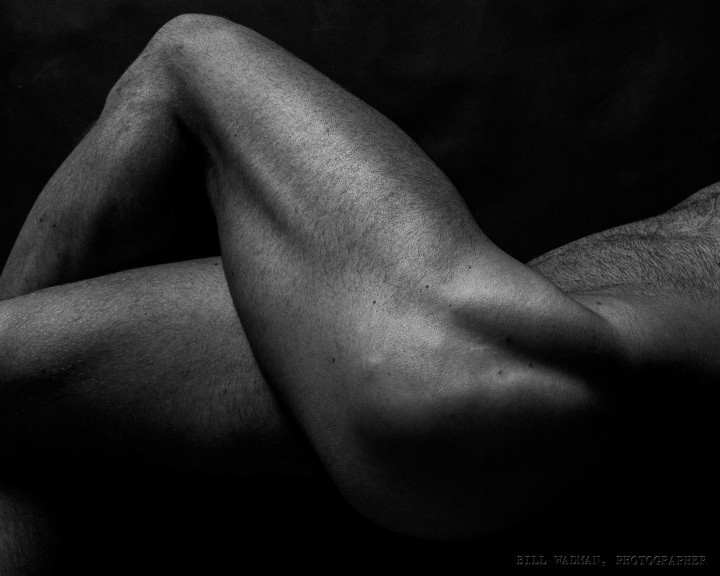
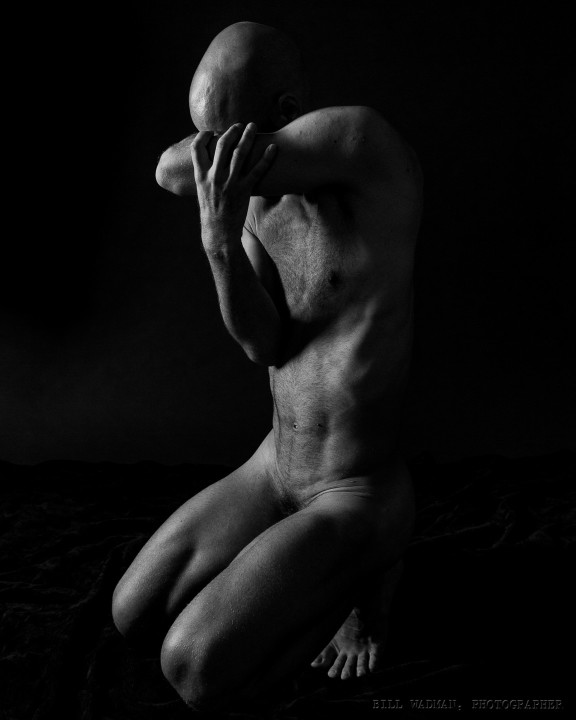
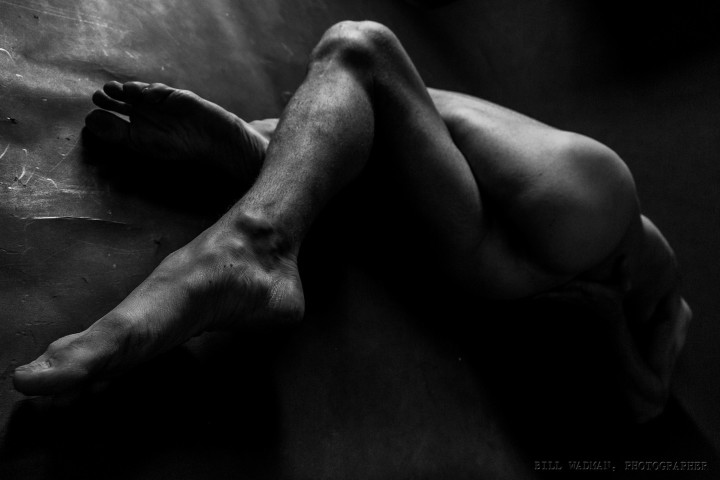
Male Nude Experiment – Black and White
Model: Gerard Reyes
Click to Enlarge.
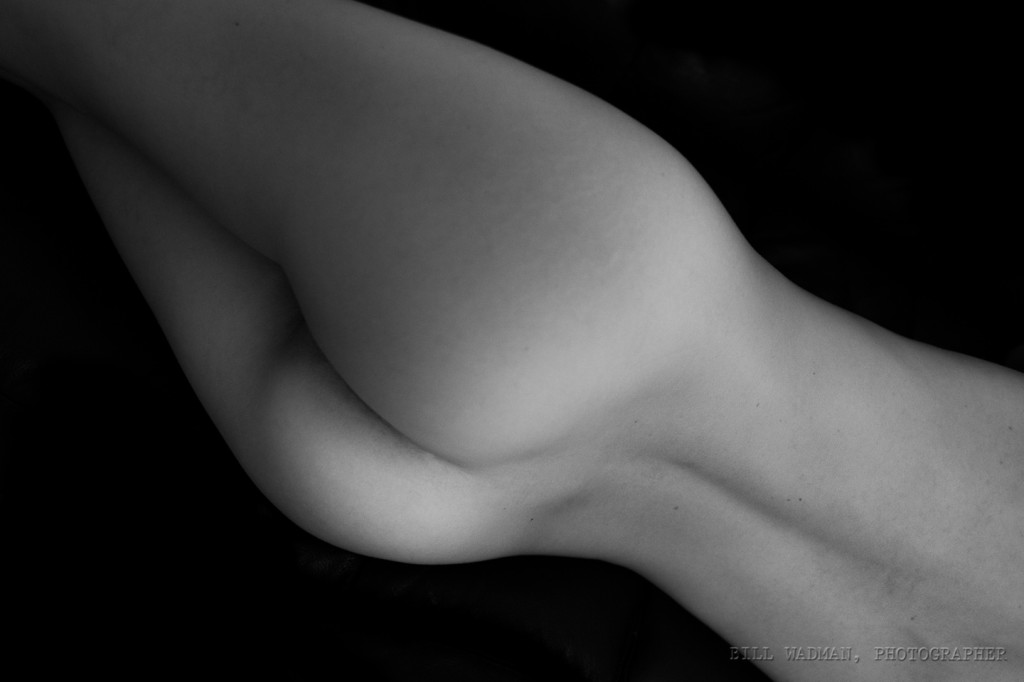
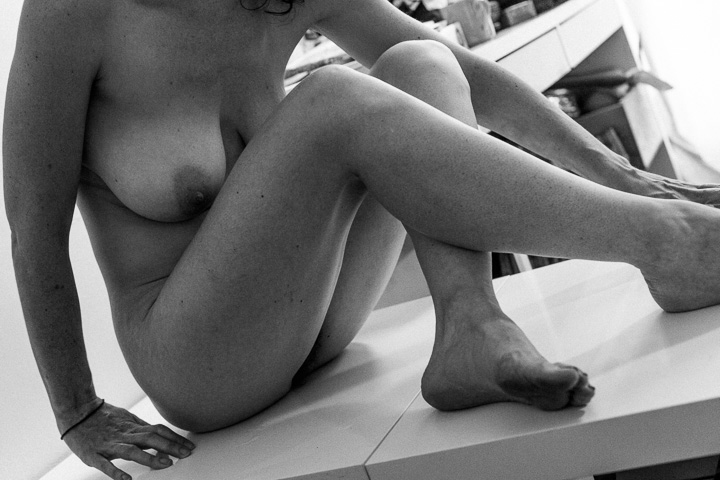
Nude Experiment 8/9/13
AMNH Sink
Click to expand.
“Monochrome” a short film
starring Gifford Elliott.

